
latest
habitat tv

Say goodbye to the morning scramble for keys, coats and sunglasses and hello to this… see this and more videos
blog

Restoring memories: A bath with a colourful new life
Within a heritage-listed homestead, amidst the serene beauty of nature, lay a unique piece of… more
This DIY pedestal is 'crackin' good!
23 May 2023
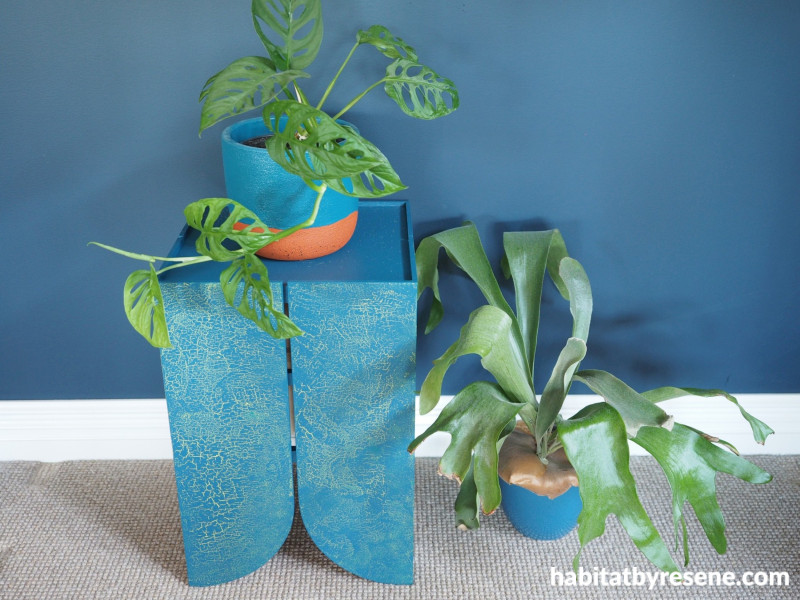
You’ll have a cracking good time with this DIY pedestal! The marble effect adds some intrigue and interest to this piece, and can be created in any colour you want. With real marble pricey and hard to come by, why not create your own one of kind pedestal that suits your style?
What you need:
- 1 sheet of 9mm thick interior grade untreated plywood
- 4m of 18mm x 18mm untreated pine for blocking
- Saw
- Compass
- Jig or bandsaw
- Sandpaper
- Wood glue
- Electric drill and screws
- Wood filler
- Small microfibre roller
- Paintbrush
- Resene Quick Dry
- Resene testpots in colours of your choice. Fleur used Resene Funk and Resene Nile Blue
- Resene FX Crackle effect
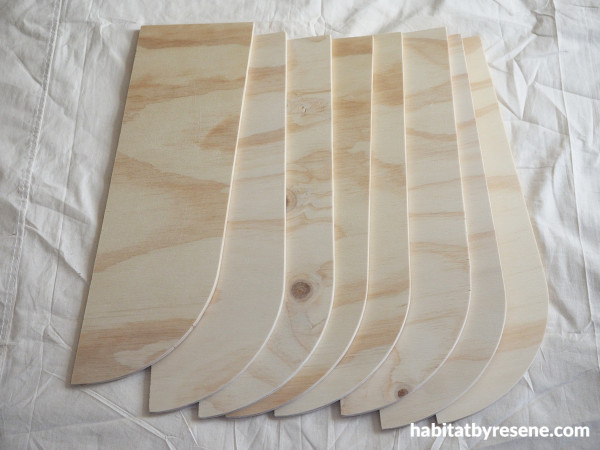
Step 1: Start by cutting your plywood into eight panels that are 16.5cm wide by 50cm tall. Use a compass to round off one of the bottom corners and cut this off using a jig saw. Sand any rough edges smooth.
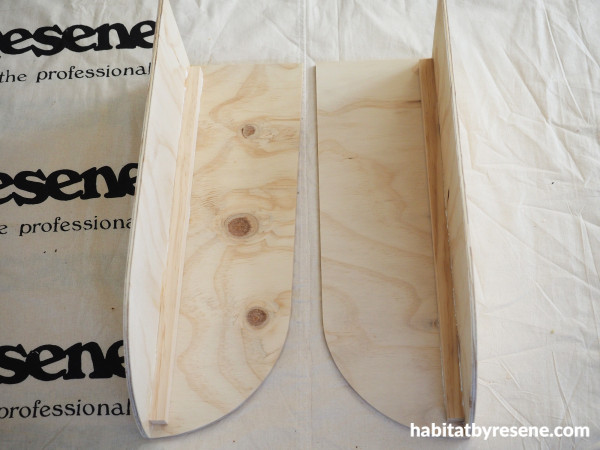
Step 2: Cut the pine blocking wood into four lengths at 47cm long. Take two plywood panels to form a corner and use wood glue to glue these in place with a length of the pine blocking in the corner. Secure the corner with some screws. Make sure that you position the blocking 14mm down from the top so that the top surface of the pedestal is recessed.
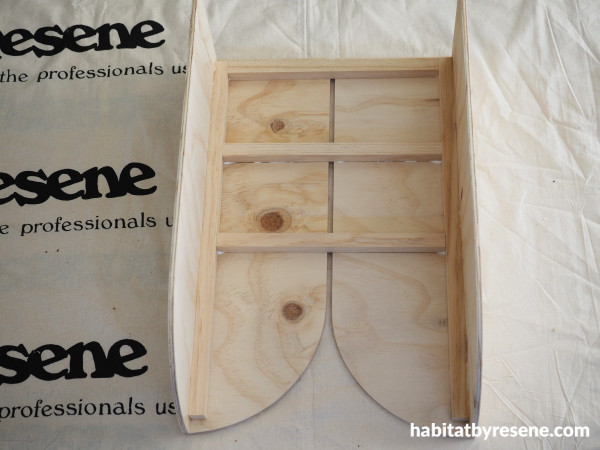
Step 3: Cut more of the pine blocking into equal lengths so that the plywood panels leave a 6mm gap when constructed. Glue these in place and secure with screws.
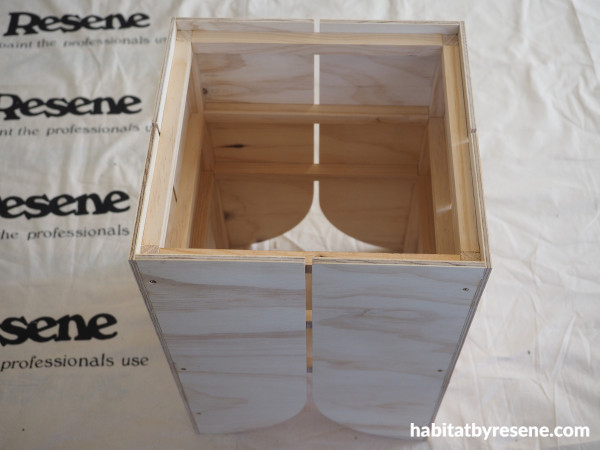
Step 4: Continue constructing the rest of the pedestal, including cutting the top to size and gluing this in place.
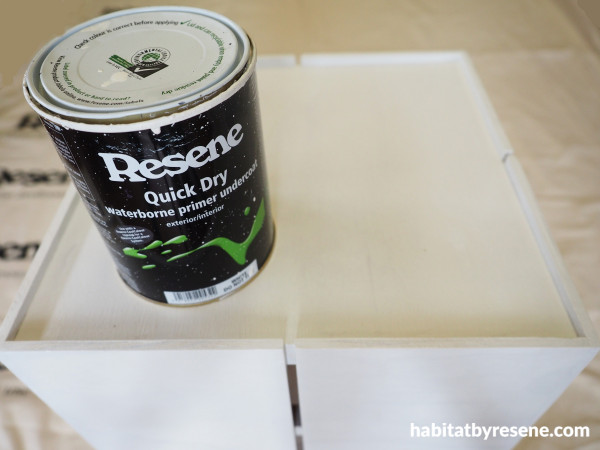
Step 5: Use a small microfibre roller to paint on one coat of Resene Quick Dry.
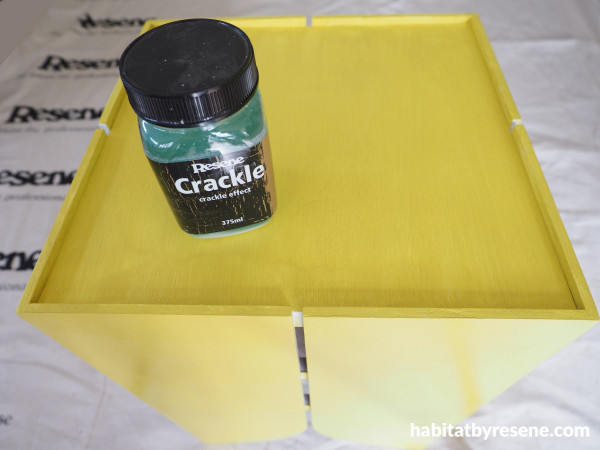
Step 6: Once the primer is dry, paint on two basecoats of your chosen colour. Fleur used Resene Funk. Once this has dried, paint on the Resene FX Crackle effect. Try painting on a thick layer, making a criss-cross pattern using a paintbrush to allow for maximum effect. Allow this to dry for 2-3 hours. Thicker applications of Resene FX Crackle will usually give deeper and larger cracks.

Step 7: Use a small microfibre roller to paint on one coat of your chosen colour. Fleur used Resene Nile Blue. Do this quickly and don’t do any touch ups or second layers. Don’t worry if your coverage isn’t very good as this will add to the effect. The Resene Crackle effect will start working straight away, cracking your chosen topcoat to reveal your base colour underneath.
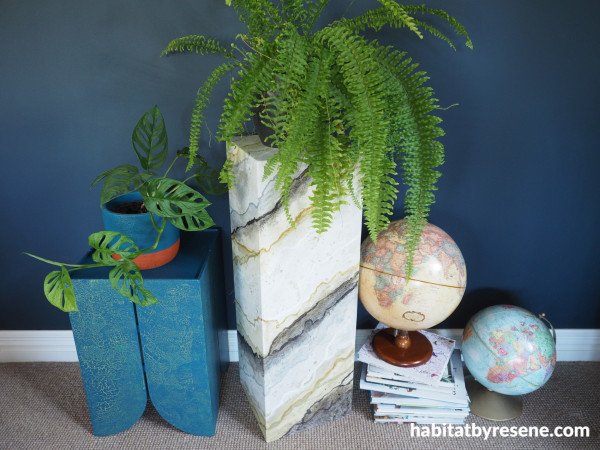
Step 8: Once your paint has dried, for extra protection paint over your pedestal with two coats of Resene Aquaclear.
Wall painted in Resene Dark Knight, skirting board painted in Resene Rice Cake and plant pot painted in Resene Teal Blue and Resene Fire.
project and images Fleur Thorpe
Published: 23 May 2023
more inspiration

Show your support this ANZAC Day with this DIY wreath
Anzac Day is a national day of remembrance in New… more

Sunny side up: Bookends for any weather
Brighten up your bookshelf and organise your books at the… more

A roar-some dish: DIY animal plates
Impress your guests with these DIY animal plates! The Resene… more

Glowing zoofari: Make your own animal themed lamp
Here’s a great DIY to do with the kids over… more

Hop into Easter with these fun DIY projects for the whole family
With Easter looming, we want to bring you more fun… more


 look book