
latest
habitat tv

Say goodbye to the morning scramble for keys, coats and sunglasses and hello to this… see this and more videos
blog

Precision and vibrancy with artist Cap Jacobs
Cap Jacobs is a New Zealand-based artist whose work stands out for its precision, vibrant… more
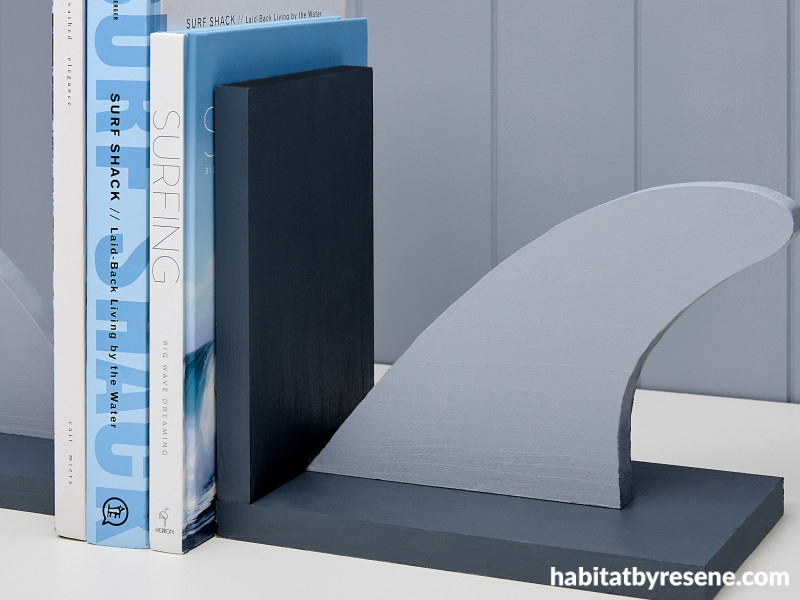
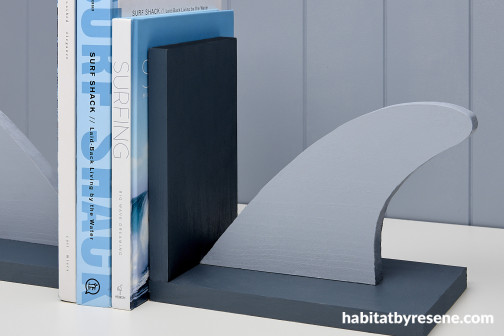
Surfs up, books up: DIY wave bookends
23 Nov 2023
Dive into a world where literature meets the laid-back vibes of the ocean with our DIY wave bookends – the perfect summer project for you or the kids. Transform boring shelves into a beachy haven and bring a touch of coastal charm to your space. Choose any of your favourite Resene colours or join us in the beachy spirit using Resene Neutral Bay and Resene New Denim Blue.
You will need:
- 2x pieces of pine - 25cm long, 14cm wide, 18mm thick
- 2x pieces of pine - 20cm long, 14cm wide, 18mm thick
- 2x pieces of pine - 15cm long, 17cm wide, 18mm thick
- 6x 20mm wood screws
- Testpot paintbrush
- Drill
- Jig saw
- Resene testpot paints in colours of your choice. We used Resene Neutral Bay and Resene New Denim Blue
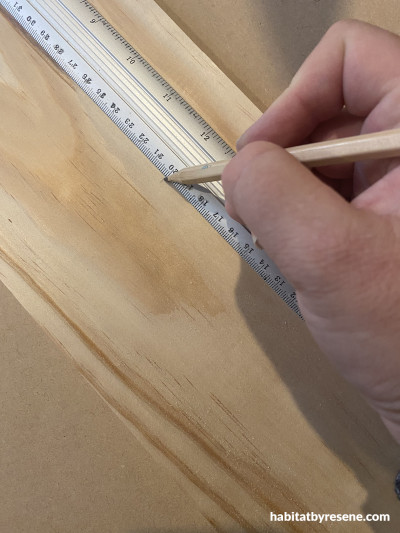
Step 1: Take your pine and measure with out with a pencil – two pieces 25cm long, 14cm wide, 18mm thick, and two pieces 20cm long, 14cm wide, 18mm thick. These pieces are for the base of the bookends.
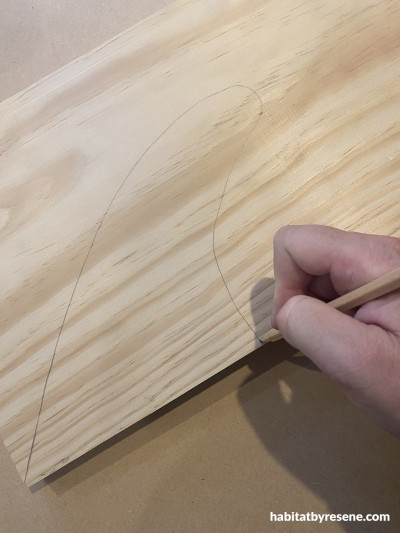
Step 2: On another piece of pine draw your wave pieces. They should be approximately 15cm high and 17cm wide.
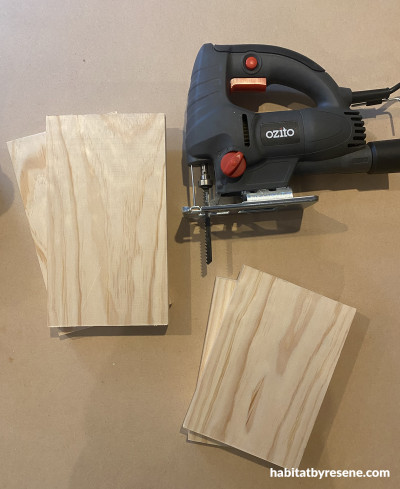
Step 3: Use your jig saw to cut the base pieces of pine. Sand any edges smooth.
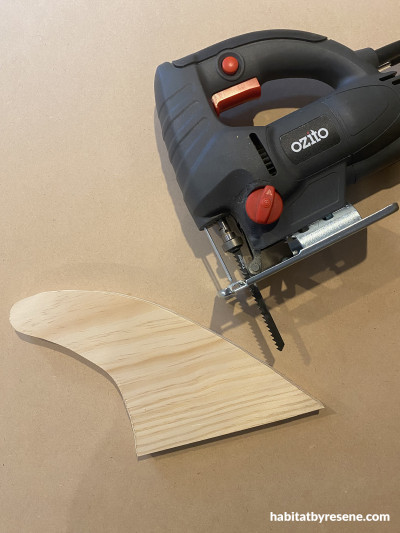
Step 4: To cut the wave out use your jig saw and go around the pencil design. Sand any edges smooth and wipe off the sanding dust with a damp cloth.
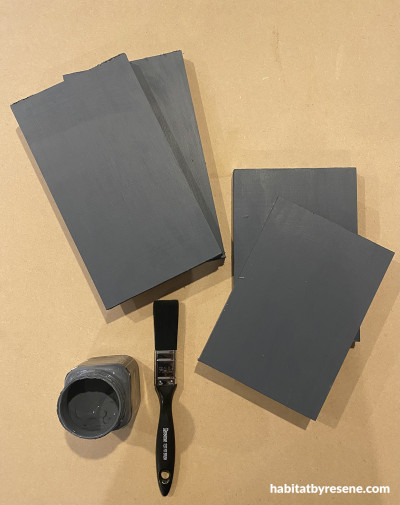
Step 5: Paint the four pieces of pine for the base of the bookends in your chosen Resene colour. We used Resene New Denim Blue.

Step 6: Paint your wave pieces in your chosen Resene colour. We used Resene Neutral Bay.
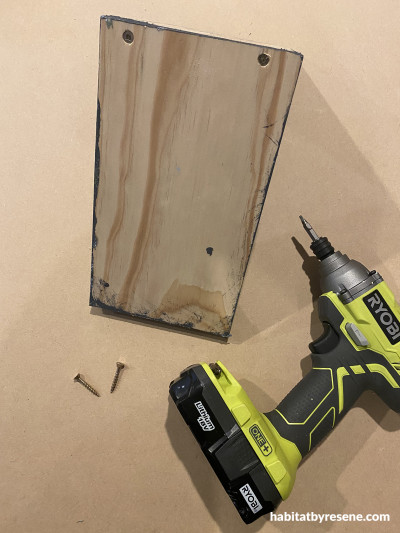
Step 7: Screw your base pieces together to create an L shape.
Step 8: Once the base pieces are screwed together screw on the wave pieces. Pop on a sideboard or cabinet.
Wall painted in Resene Neutral Bay.
project by Vanessa Nouwens
images by Bryce Carleton
Published: 23 Nov 2023
more inspiration

Three simple and unique DIY Mother’s Day projects
Mum is sure to love one of these three simple… more

The mood of May: Why this deep, vivid hue is the colour of the month
Color Marketing Group (CMG) have announced the latest hue that… more

How to play with black and white in home design
When it comes to home design, black and white is… more

Thoughtful and simple DIY Mother’s Day gifts
Looking for a way to show your appreciation this Mother’s… more

Three ANZAC DIY projects to create a thoughtful tribute
Anzac Day is a national day of remembrance in New… more


 look book